The Complete Insulation Removal Guide for Do-It-Yourselfers
It's not a job for amateurs, but if you know what you're doing, insulation removal involving fibreglass can be done quickly, inexpensively, and without incident. The question now is: what is the best way to avoid danger when removing outdated fibreglass insulation? The proper protective clothing and tools are essential for the risk-free removal of outdated fibreglass insulation. Before doing anything else, you need to make sure there is no asbestos or other harmful items in the room. Last but not least, dispose of the old fibreglass in an environmentally responsible manner. Let's go through each of these procedures, shall we?
Insulation removal: a step-by-step guide
1. Get ready for the insulation removal operation by gathering your tools and preparing yourself
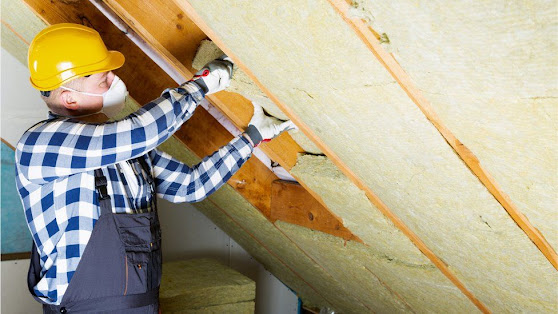
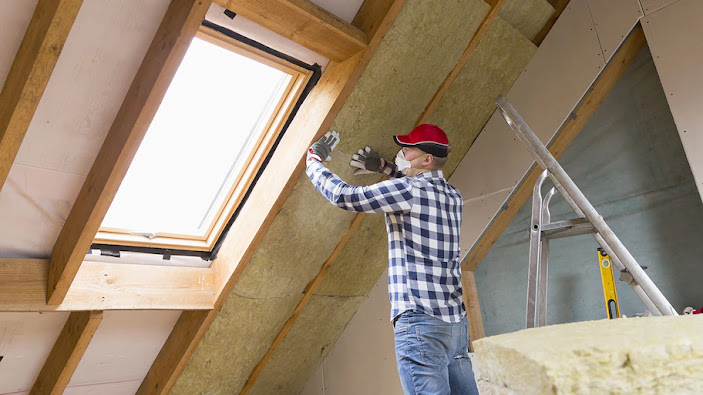
The many applications of fibreglass are well-known, and it is unusual for the material to be responsible for severe damage. But it's composed of microscopic glass particles. You must keep in mind that these small particles may cause serious health issues if breathed in or swallowed for extended periods or in large quantities. When exposed to fibreglass insulation for a short amount of time, the skin should not experience any injury. Nevertheless, prolonged contact with the material may result in the development of a rash. It's extremely harmful if breathed in, so proper safety gear is required before it can be removed.
The following items constitute essential fibreglass insulation removal and installation safety gear:
Long gloves to protect your whole arms
A suitable mask that can help you with the prevention of breathing in the dangerous particles
Arm yourself with a pair of protective eyewear
To prevent heat rashes and fatigue, wear long, breathable clothes.
After that, it is time to start thinking about the equipment that you will need to complete the insulation removal operation at hand. The most common tool for this task is a specialised vacuum designed for removing insulation. Ideally, this vacuum would have a HEPA filter and be both powerful and large in capacity.
2. Place a barrier around the room or shut it off completely so that glass particles cannot invade the rest of your home
By first sealing the room, you may be confident that no dust, fibres, or other potentially hazardous elements will escape while you work. To seal a room, you may choose from a variety of simple, low-cost options, such as:
Sealing any cracks, doors, and windows
Seal up any and all internal cracks and openings, including doors, windows, and vents. You may do this by applying tape to a tough plastic sheet and placing it over the affected area.
Making use of a plastic sheet
Fiberglass can get airborne if you continue to work in an attic space since there are gaps in the floorboards. A plastic sheet laid up on the floor before insulation removal may prevent this from happening and collect any debris that could be left behind.
3. Inspect for asbestos and other potential health and safety hazards
This is the worst possible scenario, and it may significantly increase the difficulty of the insulation removal procedure. Toxic substances and compounds with the ability to cause death are not often found in current insulating products, including fiberglass. However, it wasn't always like this. Asbestos-containing construction materials were widely used before 1980. However, after many years, this practise was eventually phased out as it was shown to pose a significant health risk.
Asbestos may be present in a home that was constructed before the year 1980 and on which work is being done. It's quite improbable that your fibreglass insulation has it otherwise. But it might have germs that were transmitted by rodents, so proceed with caution. Insulation removal will disrupt the insulation, which will cause asbestos to escape. This attribute is the reason why it's essential to check for asbestos before you start removing the insulation. Expert insulation removal services should be contacted in the event of asbestos exposure.
4. Vacuum up any fibreglass insulation
It’s not acceptable to perform the fibreglass insulation removal process by hand. The better option is to use a powerful shop vacuum equipped with a vacuum bag. The dust isn't stirred up as much, and the process goes much more quickly with this strategy. In the same way that rock wool is rather foam-like, fibreglass insulation is quite spongy, which makes it quite simple to vacuum up with just a minimum of disruption required from your side. If it's solid, you can break it up and put the pieces in the vacuum that way.
Once this happens, the insulation will start shedding a great deal of dust, which will quickly accumulate on the ground. Inhaling too much of the fibreglass insulation dust is bad for you, so preventing it from building up is a top priority.
We recommend that you let in fresh air from the outside by opening windows or removing tiles from the roof to let hot air escape from the attic.
5. Dispose of Fiberglass Insulation in an Appropriate Manner
Fiberglass insulation that has been sucked up in a vacuum cleaner must be disposed of in an environmentally safe manner. Specifically, this is what you should do:
The insulation should be sealed in heavy-duty plastic bags
Tie a knot on the top to keep anything from falling out, and use two bags if the weight of the contents is significant.
Take out the trash and clean up your house
You shouldn't let the old insulation remain in the structure, and you should get rid of it as quickly as you can.
Deliver the trash bags to a designated dump
Insulation made of fibreglass cannot be thrown away in garbage cans or recycling centers. If you need help disposing of garbage, you should call the county where you live or a private company that specialises in such services.


Comments
Post a Comment